Quality Tools
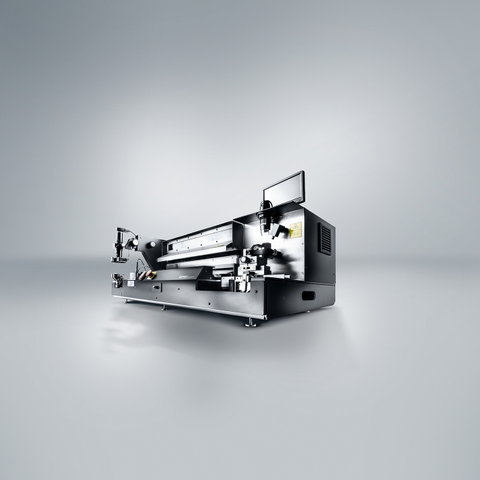
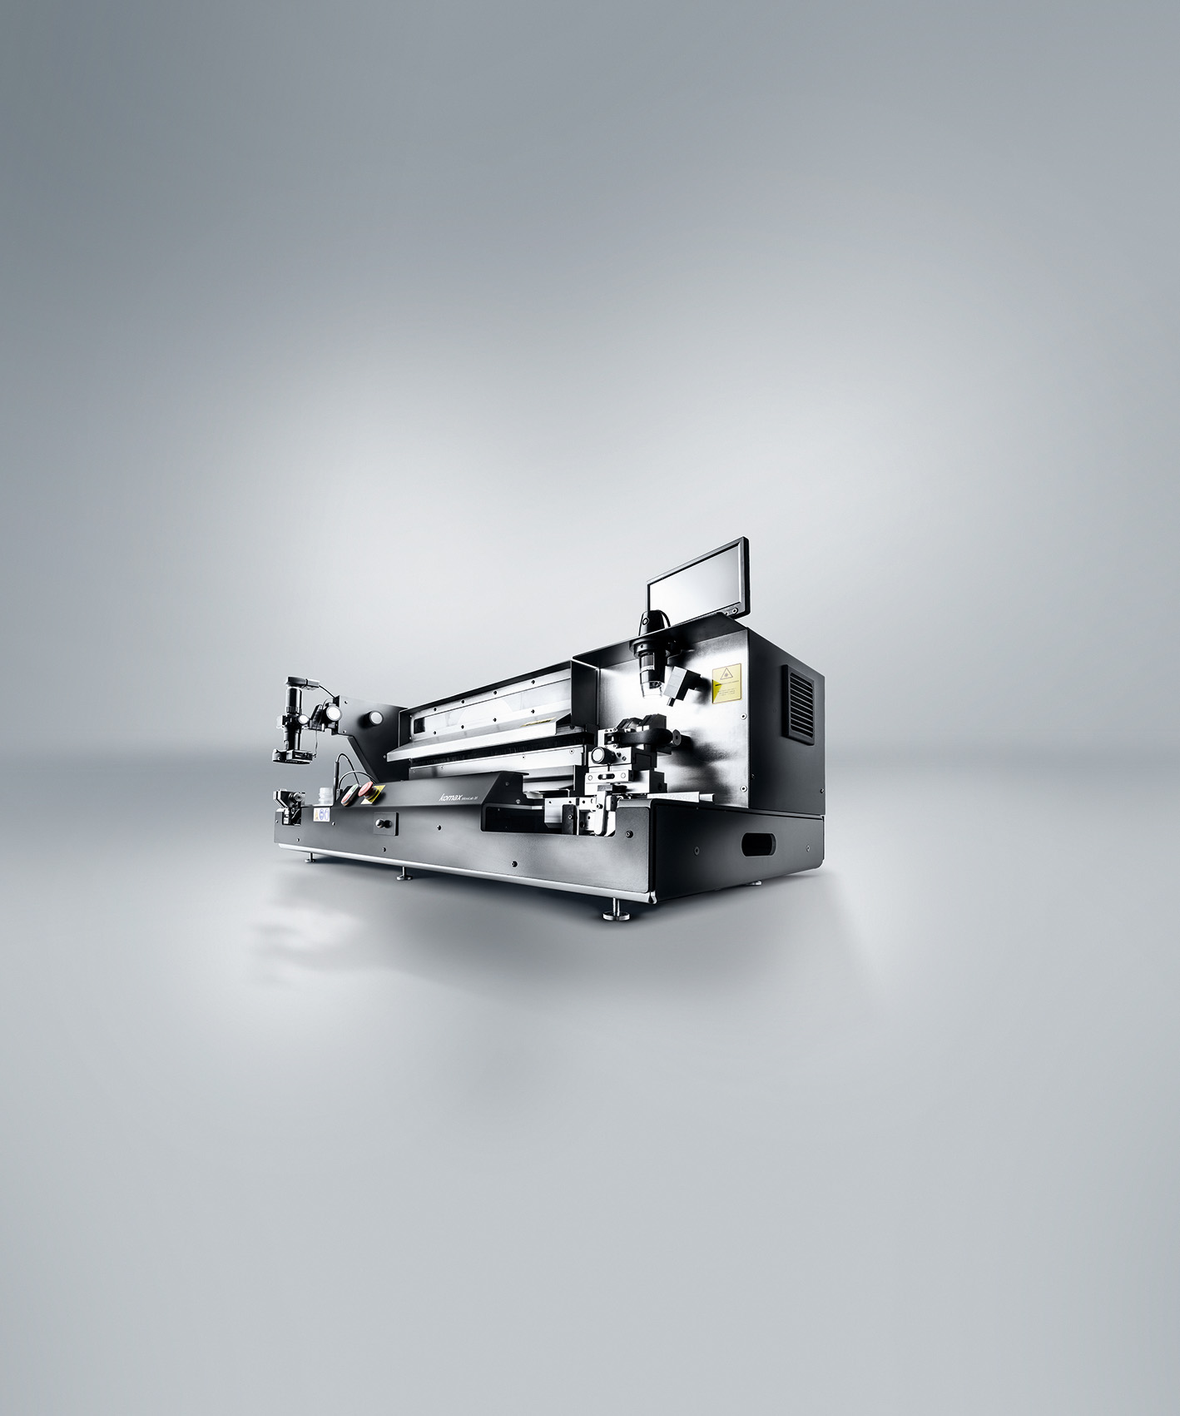
MicroLab 35
The MicroLab 35 bench-top micrograph laboratory can reliably check large quantities of B crimps in the processing range of 0.5 to 3.0mm in serial quality testing.
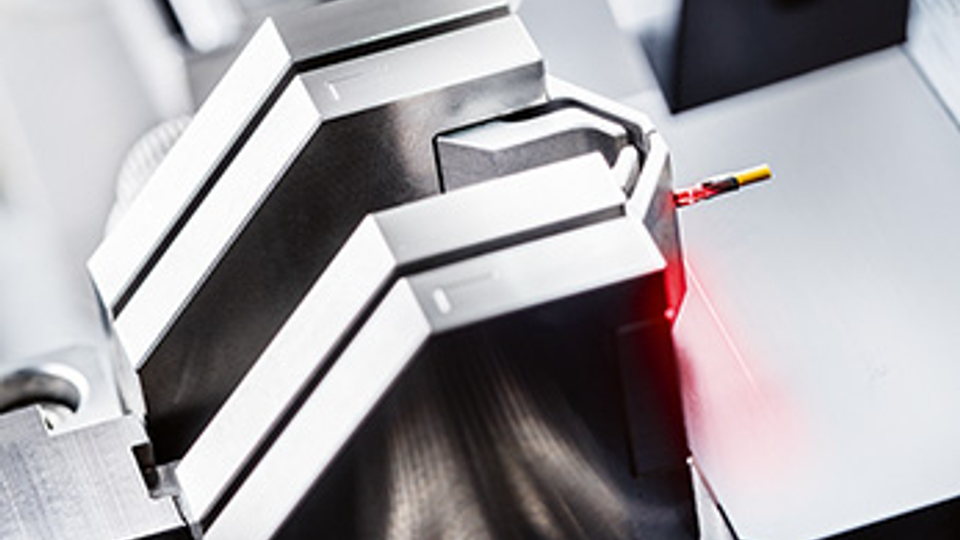
Easier positioning with the line laser
The section plane can be precisely aligned by the integrated line laser, making it easier to position the sample for processing.
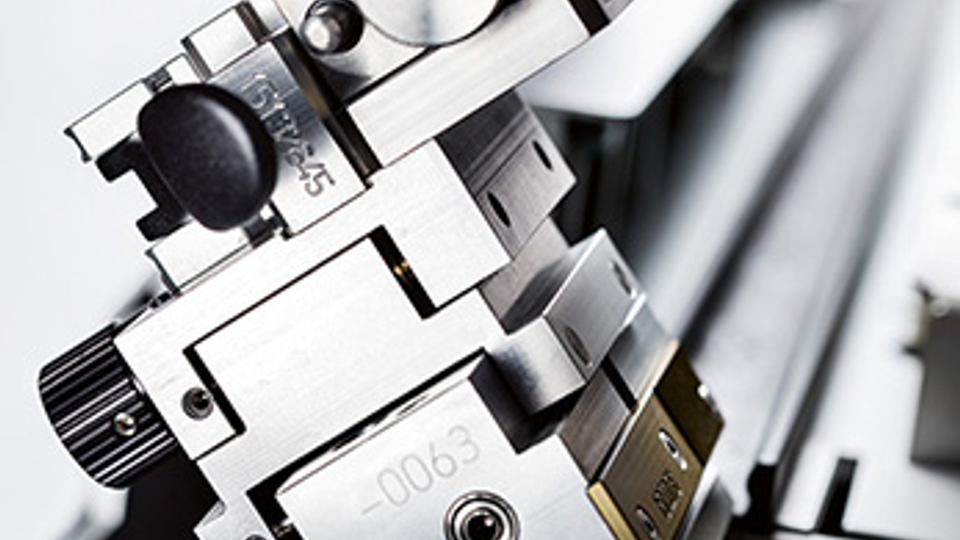
Cutting and grinding of samples possible without reclamping
Combined wet cutting and grinding is performed without any user intervention. The throughput time of the sample for this process is only 90 seconds.
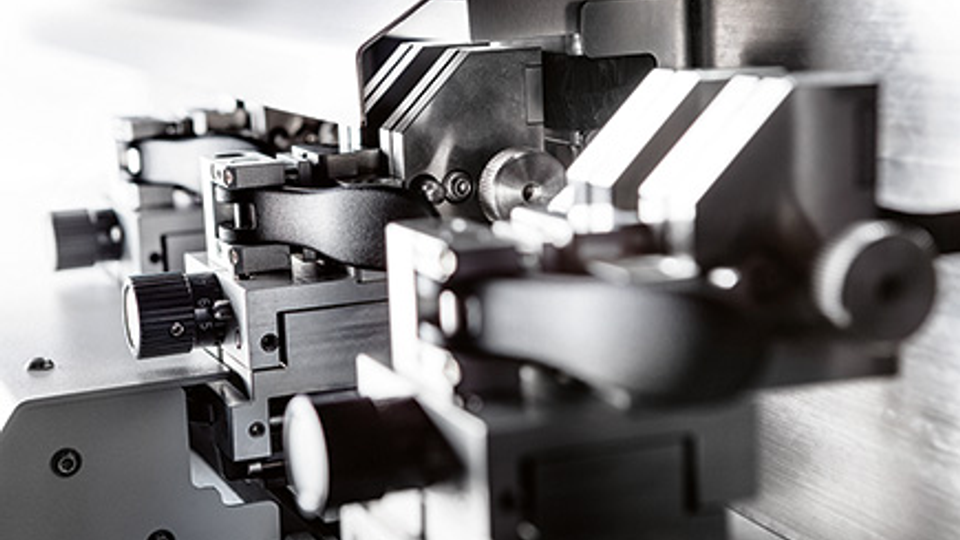
Continuous micrograph creation thanks to parallel processes
The parallel processes allow the continuous creation of one micrograph per minute. The sample is clamped efficiently and the plane of the microsection is precisely determined.
| Specification name | Specification value |
|---|---|
| Processing area (max. terminal Ø) min. | 0.3 mm |
| Processing area (max. terminal Ø) max. | 3 mm |
| Dimensions/width | 320 mm |
| Dimensions/height | 485 mm |
| Dimensions/length | 1100 mm |
| Weight | 90 kg |
